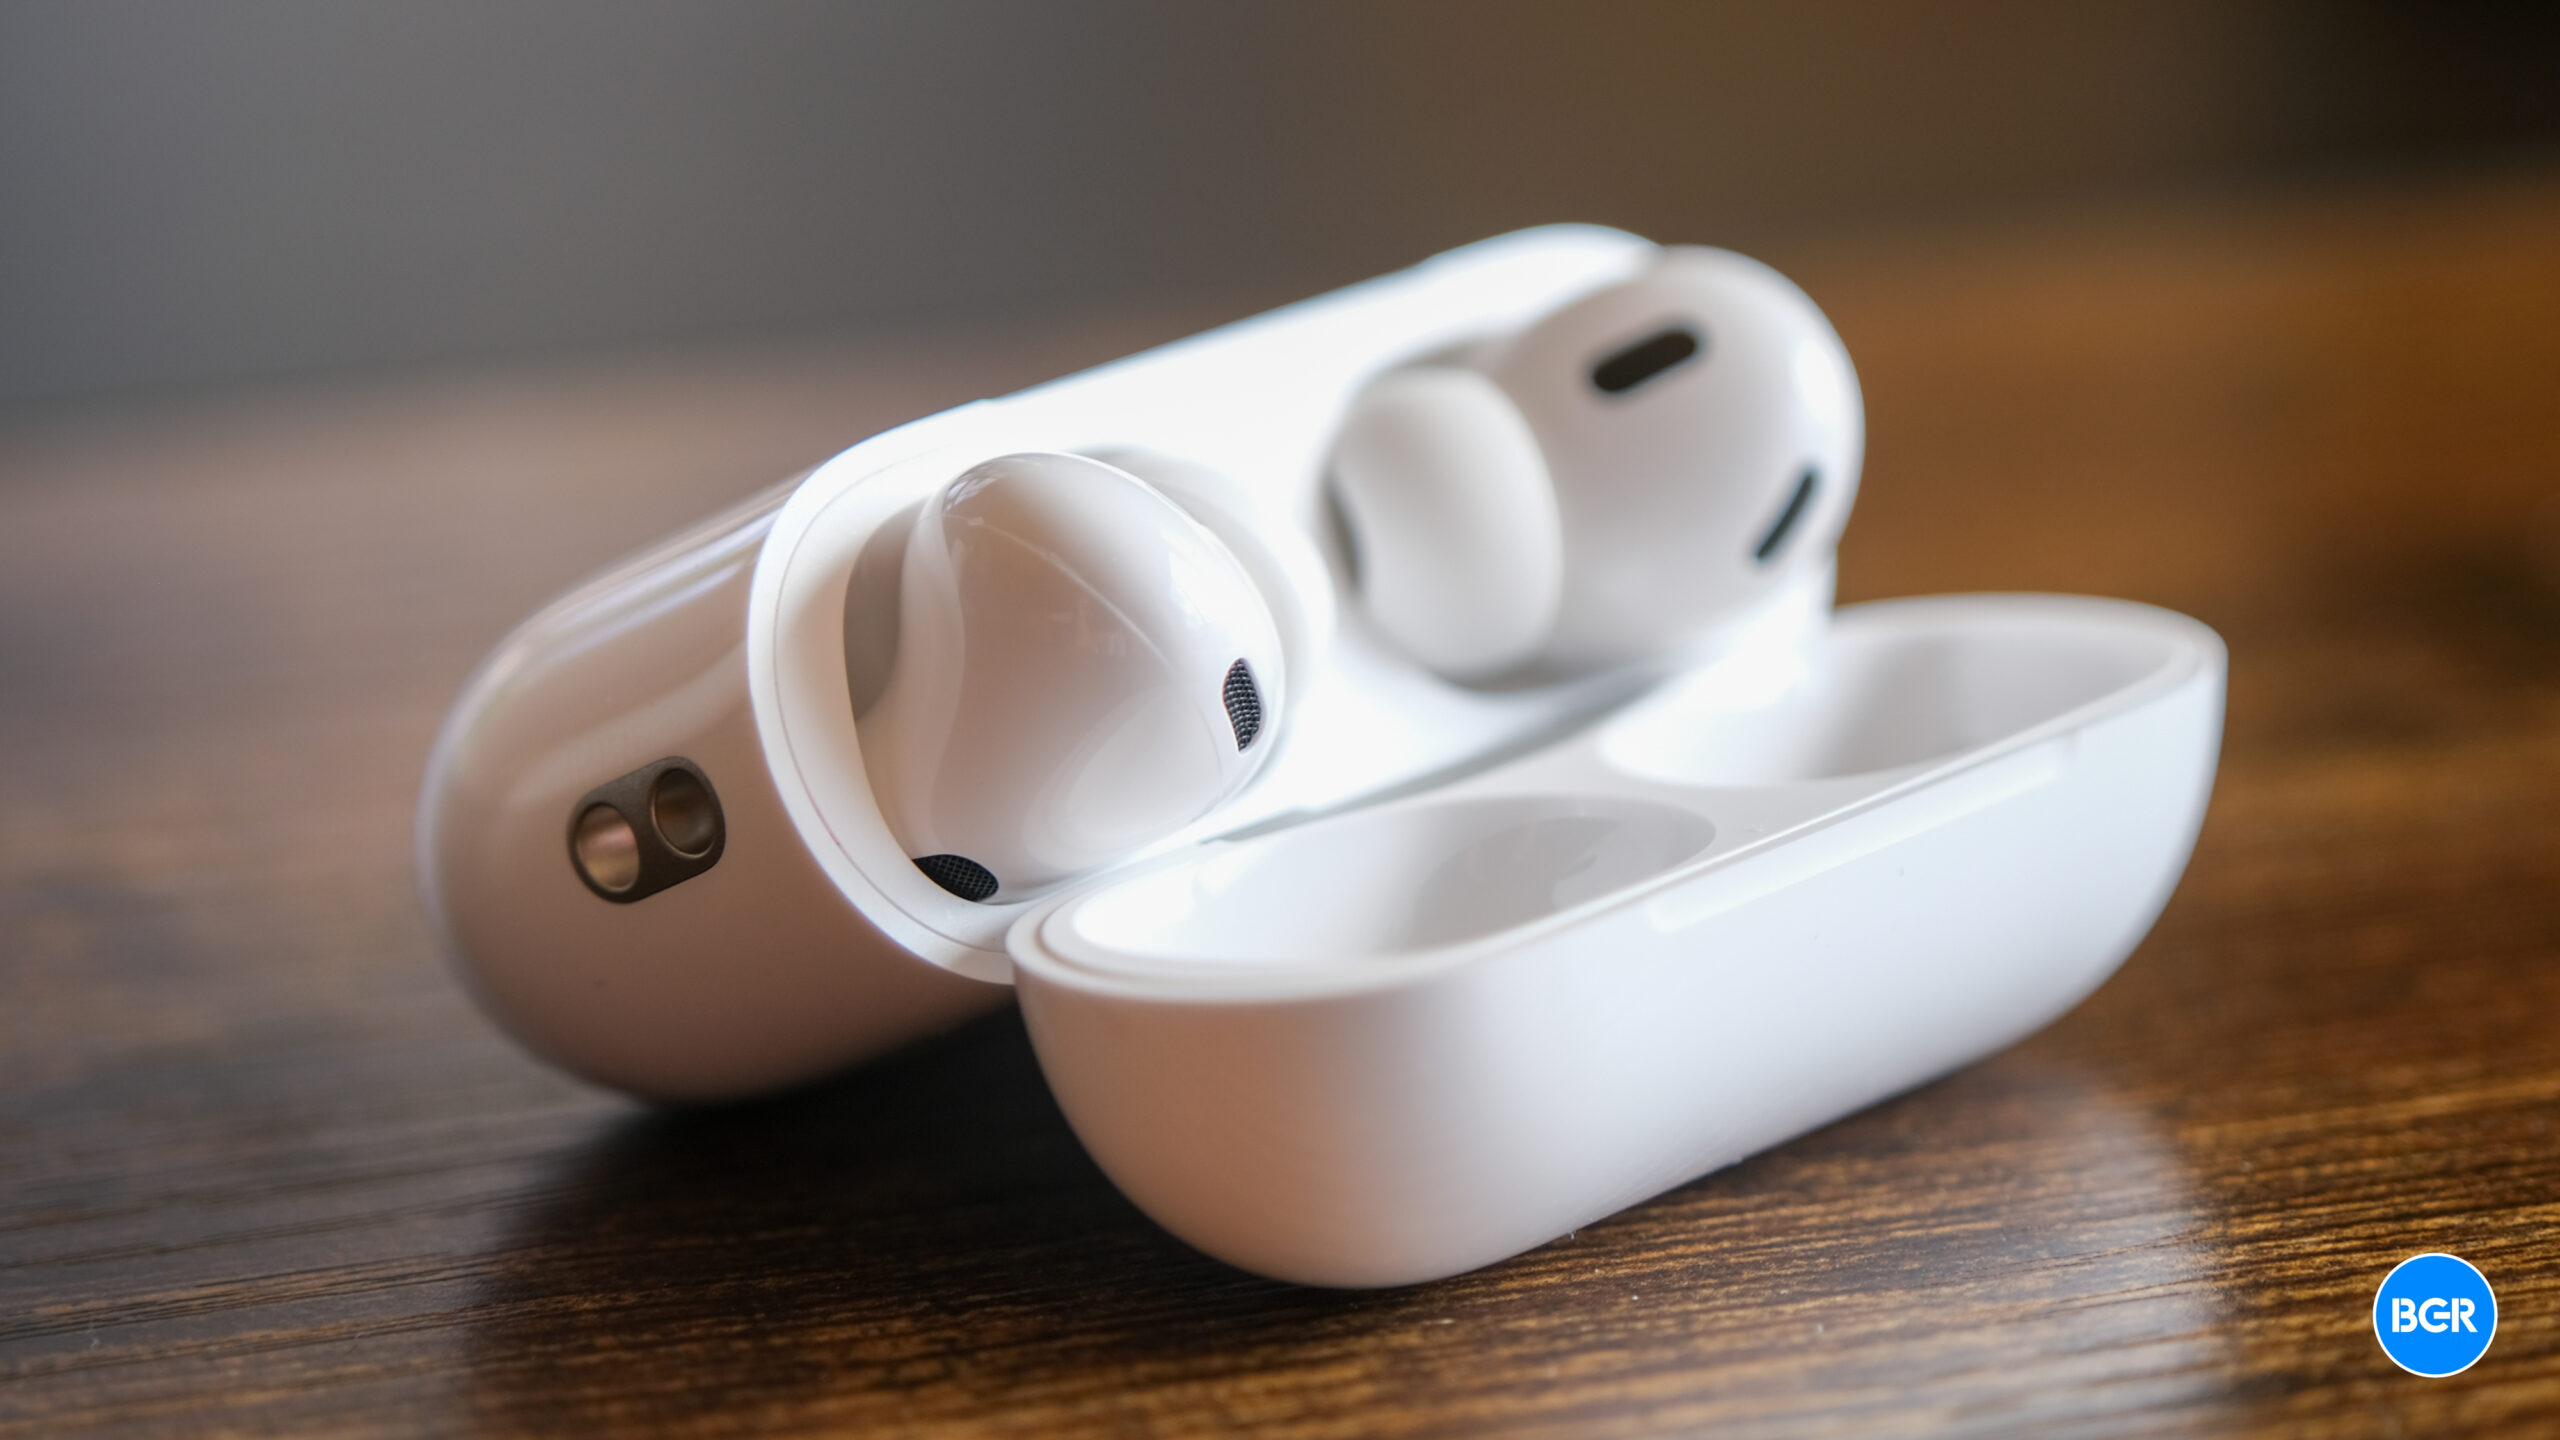
With iOS 18.2 now available, Apple expanded the AirPods Pro 2 hearing test feature to more countries and regions, including Cyprus, Czechia, France, Italy, Luxembourg, Romania, Spain, the United Arab Emirates, and the United Kingdom.
With this feature, you can identify if you have hearing loss by testing your hearing at different frequencies of sound, which are measured in decibels hearing level (dBHL). In addition, some regions already have the ability to use AirPods Pro 2 as a hearing aid device. I recently did Apple’s AirPods Pro 2 hearing test, and I wasn’t happy with what I discovered.
Here’s everything you need to know about Apple’s AirPods Pro 2 hearing test feature and how to take the most out of it.
What do you need to take the AirPods Pro 2 hearing test?
There are a few requirements to take the hearing test:
- AirPods Pro 2
- Update them to the latest firmware
- Have an iPhone or iPad running iOS 18.1/iPadOS 18.1 or later
Preparing for the test
If you match the requirements above, you need to prepare for your test. To make sure your AirPods have the proper fit, you can take the Ear Tip Fit Test (iPhone or iPad only). The Hearing Test also tests the fit of your AirPods.
Your test results might be affected if any of these apply to you:
- If you’ve had a cold, a sinus infection, or an ear infection within the last 24 hours.
- If you’re currently suffering from allergies.
- If you’ve been in a loud environment, like a concert, within the last 24 hours.
Once you found a quiet place to take the hearing test, here’s what you need to do
It’s time to take the hearing test
The hearing test feature is intended for people 18 years and older and takes approximately five minutes.
- Make sure that your AirPods are sufficiently charged and that you are in a quiet room.
- With your AirPods in your ears and connected to your paired iPhone or iPad, go to Settings > your AirPods. You can also start the Hearing Test from the Health app.
- Tap Take a Hearing Test, then follow the instructions:
- If the app asks to run a check, put your AirPods back in their case, close the lid, then tap OK. Tap Take Hearing Test when the check is finished.
- If prompted to find a quieter space, turn off air conditioning or fans that might be creating noise in your environment, or wait until night when there’s less ambient noise, like traffic noise. The test monitors ambient noise and will let you know when it’s quiet enough for the test.
- If the test recommends that you adjust the fit of your AirPods, try a different size of ear tips.
- If the test recommends that your AirPods Pro needs cleaning, follow AirPods Pro cleaning instructions.
- When the Hearing Test starts, tap the screen when you hear a tone. During the test, tones are pulsed three times to give you time to respond to the tone played. You only need to tap one time when you hear a tone. It’s OK if you miss a tone.
- If you remove or adjust your AirPods (or if the environmental noise around you becomes loud), the Hearing Test may pause. The test resumes when you put the AirPods back in your ear or when the environmental noise is quiet again.
How to see your results
When the test is complete, you can see the results on your device. The results show your overall hearing loss in decibels of hearing level (dBHL), your hearing loss classification, and recommended next steps.
To see a detailed audiogram, tap Show Details. Your audiogram is securely stored in the Health app on your device, so you can access the data at any time. Here’s what you need to know about the results:
- Up to 25 dBHL indicates little to no hearing loss.
- 26-40 dBHL indicates mild hearing loss, where you can hear words spoken in a normal voice from three feet away.
- 41-60 dBHL indicates moderate hearing loss, where you can hear words spoken in a raised voice from three feet away.
- 61-80 dBHL indicates severe hearing loss, where you can hear some words when they’re shouted into your ear.


