It feels like the year has flown by—just yesterday, we were looking forward to 2024, and now, we are gearing up for the holiday season. For many of us, Christmas brings a chance to add extra magic to our homes. My first foray into HomeKit was automating my Christmas decorations, so it feels only right to usher in the season with my updated guide to creating a smarter, more festive Christmas display.
HomeKit Weekly is a series focused on smart home accessories, automation tips and tricks, and everything to do with Apple’s smart home framework.
Required gear
Before buying HomeKit accessories to automate your Christmas decorations, I advise purchasing a device that acts as a HomeKit “Home Hub.” The support devices are Apple TV, HomePod, or HomePod mini. As long as these devices are signed in to iCloud, you can manage devices and run automations while you’re away from home. It’s not required for HomeKit but is certainly highly recommended.
The Christmas tree
The Eve outlet is the most expensive, but it does add Thread support to your network. Simply put, Thread is a purpose-made mesh networking protocol for HomeKit and other types of smart home devices that create direct peer-to-peer communication. It’s self-maintaining, self-healing, and self-routing, allowing all your devices to communicate easily.
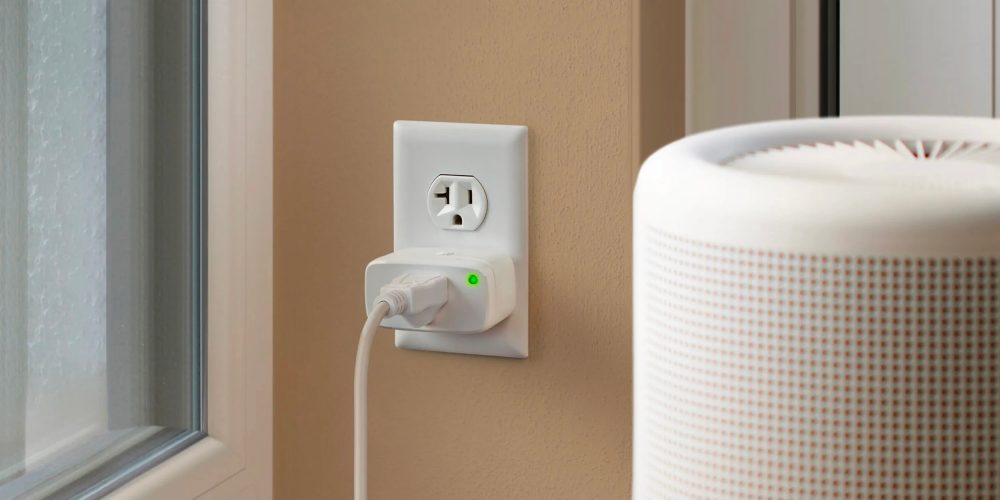
When you get the devices installed, you can turn your tree on and off from Siri or the Home app. You can also create a HomeKit automation to do it automatically at Sunset or at a particular time (I explain how to configure these automations at the end of the article).
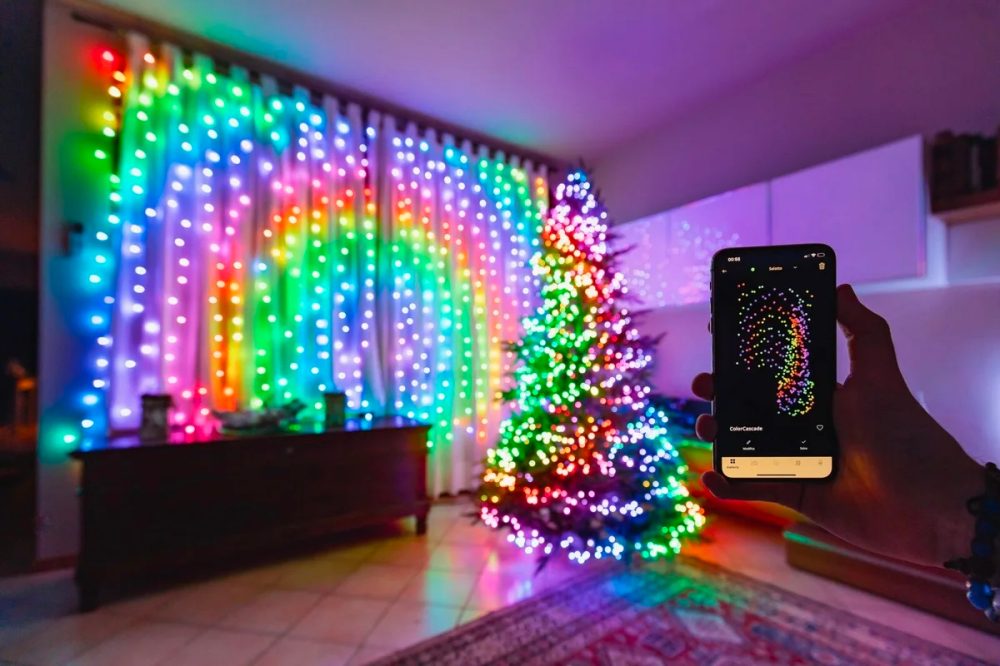
Now, I am not allowed to touch the Christmas lights on the tree at my house, but if you are, check out Twinkly. With Twinkly, you’ll re-string your tree with smart home-enabled lights. Twinkly added native HomeKit support a few years back to their product (Gen II and Plus models). Twinkly also sells prelit Christmas trees and outdoor lights.
Outdoor lighting
I mentioned Twinkly already in this article, but what if you already have some outdoor lights that you want to use with HomeKit? Here are a few products I recommend.
When using outdoor lights, you should stick with outdoor-rated plugs because ones rated for use indoors aren’t made to withstand extreme cold, moisture, or rain.
The concept with these plugs is the same. You plug the lights into the adaptor, and then the adaptor goes into the wall.
Creating automations
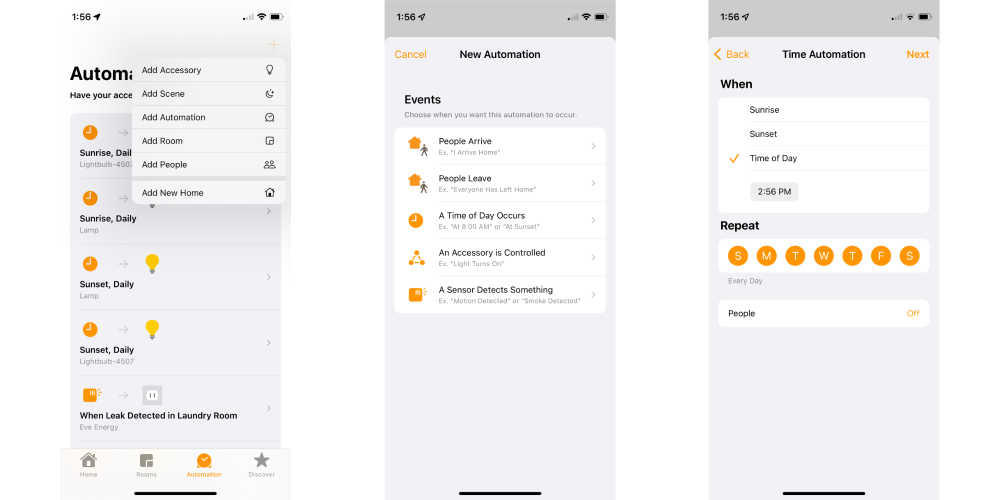
Once all of your devices are in the Home app, you can interact with them in multiple ways. Of course, the easiest is to use the Home app to turn them off and back on whenever you please.
If you have a HomePod, you can use Siri to turn them off based on the device’s name: “Hey Siri, turn on my Christmas Tree lights.”
If you want a more hands-off approach, it’s ideal to let HomeKit manage the timing. Go to the Automations tab in the Home app, tap the + button, choose Add Automation, Choose A Time of Day Occurs, and then choose your timing. For example, an easy way to work with Christmas is to have them turn on at Sunset. You’ll then want to create a second automation to turn them off at Sunrise or when you go to bed.
Wrap up
There are many fun ways to automate your Christmas decorations using HomeKit with low-cost devices. It’s easy to start small with a single HomeKit plug for your main tree and interact with it in the Home app.
FTC: We use income earning auto affiliate links. More.


